The eclair originated in France in the 19th century where it's name translates to "flash as lightning"...which is how they're eaten! These
choux dough is the same as profiteroles which is crisp on the outside and hollow on the inside, but piped in oblong shape. The later makes it perfect to pipe in vanilla, chocolate, or coffee pastry cream or simple whipped cream. This recipe, which is King Arthur Flour's "bake along" for February, has chocolate pastry cream which makes them even more decadent. Needless to say, my hubby was very happy!
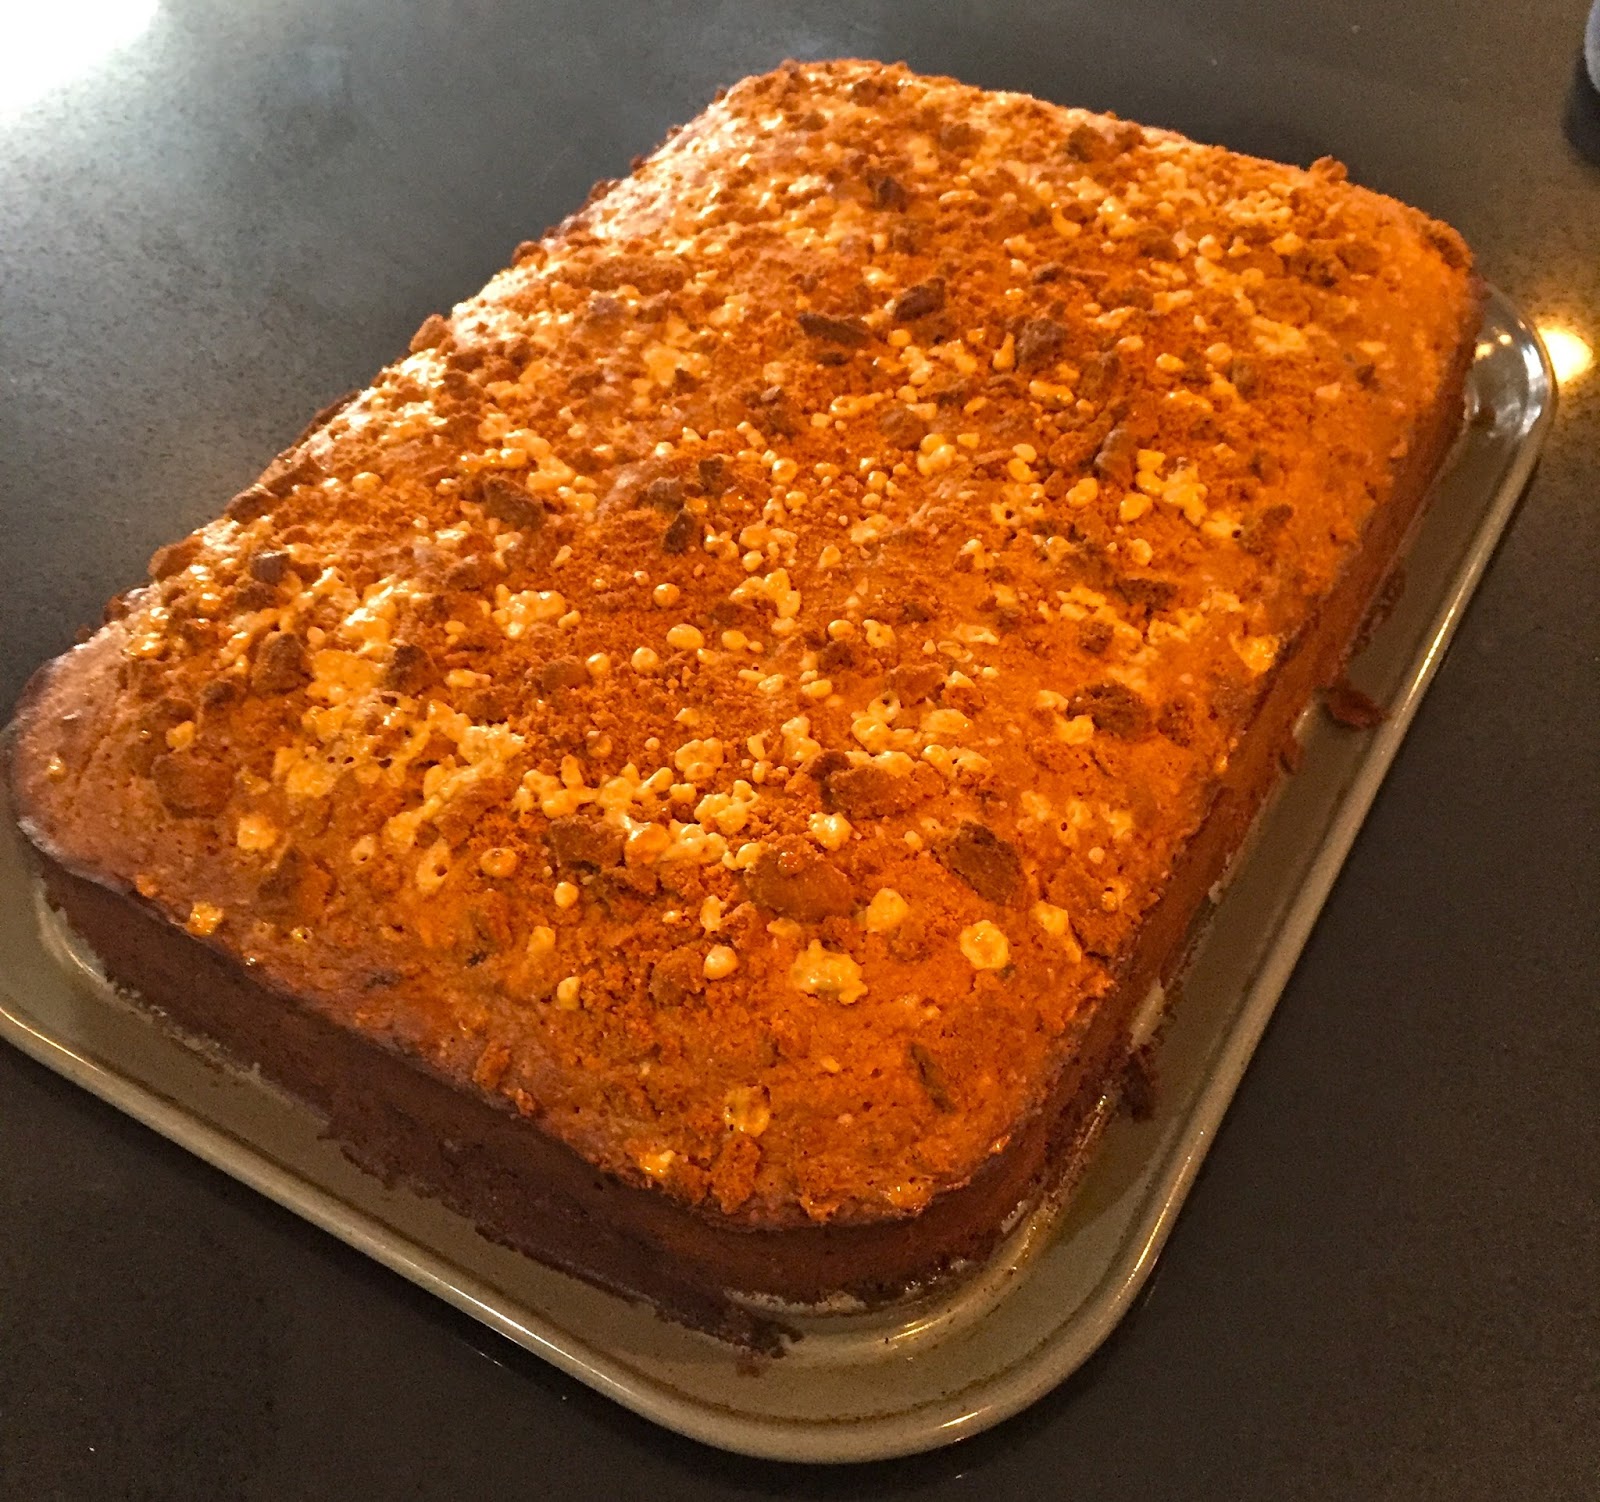
Dark Chocolate Eclairs
Choux Pastry:
1 cup water
8 T (1 stick) unsalted butter
1/4 tsp. salt
1 1/4 cups King Arthur all-purpose flour
4 large eggs
Preheat oven to 425F-degrees and line a baking sheet with parchment paper.
Combine the water, butter and salt in a medium saucepan and heat until the butter melts and you have a rolling boil.
Remove the pan from the heat and add the flour, all at once, stirring vigorously. Return the pan to the burner and cook over medium heat, stirring all the while until the mixture smooths out and follows the spoon around the pan, this should take less than a minute.
Transfer this mixture to a bowl of a stand mixer (alternately, you can use a hand mixer) and allow to cool about 5-10 minutes. You should be able to hold your finger in this mixture comfortably!
With the mixer running, add the eggs, one at a time. At first, it will look curdles, but when the last egg is added it should become smooth--beat at least 2 minutes after adding the last egg.
Using a pastry bag, pipe the batter into 5" logs about 3/4" in diameter (or you can use a spoon or cookie scoop to drop small mounds of the batter, gently spreading them). A pastry bag is easier!
Bake the pastries for 15minutes, then reduce the oven temperature to 350F-degrees and bake an additional 25 minutes, until pastries are a medium golden brown.
Don't open the oven door while the pastries are baking.
Remove the pastries from the oven and make a small slit in the top of each, then return them to the oven for 5 more minutes to allow the steam to escape. Place them on a rack to cool completely. When they are cool enough to handle, slice each one in half, exposing the centers to air which will keep them from becoming soggy.
Chocolate Pastry Cream
1/2 cup sugar
5 T cornstarch
4 large egg yolks
2 cups whole milk
1/2 cup Dutch process cocoa (or
King Arthur Triple Cocoa Blend)
1/3 cup chopped unsweetenedd baking chocolate
1 T unsalted butter
Bring the milk and cocoa to a simmer in a saucepan over medium heat. Combine the sugar and cornstarch in a mixing bowl. Whisk in the egg yolks. Pour a quarter of the hot milk/chocolate mixture into the yolk mixture, whisking until incorporated. Return the mixture to the saucepan and cook over medium heat.
Cook, stirring constantly, until the mixture becomes very thick and just barely starts to bubble. Remove the pan from the heat and add the chocolate and butter, stirring until melted and smooth.
Transfer the pastry cream to a bowl and cover with plastic wrap, pressing on the surface of the cream so a skim doesn't form.
Cool to room temperature, then chill in the refrigerator for 2 hours before filling the eclair shells.
Glaze:
2/3 cup chopped semisweet or bittersweet chocolate
1 1/2 tsp. light corn syrup
1/2 cup heavy cream
Combine the chocolate and corn syrup in a medium bowl. Heat the cream to simmering, then pour over the chocolate/corn syrup, stirring until melted and smooth.
To assemble the eclairs. Pipe or spoon the cream into the choux pastry bottoms, then dip the tops into the glaze.
For best results, serve immediately or refrigerate and serve within several hours.
Store any leftover eclairs, well-wrapped, in the refrigerator for a few days...they don't freeze well! However, like it's name translates...these will be eaten quickly. Enjoy!
Happy Valentine's Day to all my friends--Spread love!